Trezor.io/start — Set Up Your Trezor Hardware Wallet Safely
This guide complements Trezor.io/start by walking you through each step of the official onboarding flow: unboxing, authenticating firmware, creating and protecting your recovery seed, choosing PIN and passphrase options, and adopting long-term practices to keep your crypto safe.
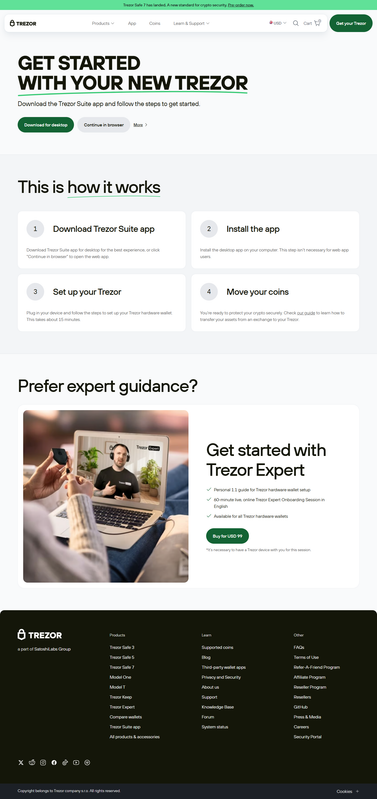
When you first visit Trezor.io/start, you are following the manufacturer’s recommended path for initializing a hardware wallet. The goal is simple: generate and protect private keys in an environment that minimizes exposure to online threats. Trezor devices are designed so keys never leave the secure hardware; the start page ensures you download authentic companion software and follow a verified setup routine.
Unboxing and initial checks
Begin by visually inspecting the package. Genuine Trezor products arrive factory-sealed and include the device, a USB cable, recovery card(s), and quick start instructions. If the seal is broken or anything looks tampered with, stop — do not proceed with setup. A compromised device can be dangerous; contact the place of purchase or the manufacturer for guidance.
Download official software
Trezor.io/start directs you to the official Trezor Suite (desktop) or recommended web workflow. Only download the Suite from the official source listed on that start page. The application performs device checks, verifies firmware signatures, and provides an interface for wallet initialization. Avoid third-party downloads, links shared over chat, or email attachments that claim to speed up setup.
Initialize the device
Connect your Trezor to a trusted computer with the supplied cable. The on-screen prompts on the device and the Suite will guide you to either create a new wallet or restore an existing one. Creating a new wallet generates a fresh set of cryptographic keys inside the hardware — keys that never leave the device. Always follow the on-device confirmations rather than trusting only the computer screen.
Create and secure your recovery seed
During setup, Trezor will display a recovery seed — typically 12, 18, or 24 words — that acts as the sole backup to your wallet. Write each word down in order on the provided recovery card or use a reputable metal backup designed for resilience. Do not photograph, copy to a computer, or enter the seed into any online service. Treat the seed like a physical key: protect it, hide it, and consider multiple secure locations if your holdings justify it.
Set a PIN and consider a passphrase
After recording the seed, set a PIN to protect the device from unauthorized physical use. Choose a PIN that is memorable for you yet not easily guessed. Trezor also supports an optional passphrase: an extra word or sentence that acts like a second seed and creates hidden wallets. A passphrase offers powerful additional security, but it must be backed up separately — losing it means losing access to that hidden wallet.
Firmware updates and authenticity checks
Firmware keeps the device secure and compatible. Trezor Suite verifies firmware cryptographic signatures before installation; only approve updates initiated through the official application and confirmed on the device. Do not accept unsolicited update prompts from unknown sources. Authenticity checks ensure the device you received hasn’t been tampered with during shipping.
Transaction verification — always check on-device
When sending funds, the Trezor displays full transaction details on its own screen. Confirm amounts, fees, and recipient addresses on the device — not just on your computer. This built-in verification protects you from host-based malware that might alter transaction data presented in your browser or desktop app.
Backup strategies for long-term safety
For significant holdings, consider multiple backups of your recovery seed stored in geographically separate, secure locations (safes, bank boxes, or fire- and water-resistant metal plates). While extra copies reduce the risk of accidental loss, treat each copy as sensitive; more locations mean more points of exposure if not properly secured. Regularly inspect physical backups for legibility and corrosion.
Operational security (OpSec) tips
- Set up your device on a trusted, malware-free computer.
- Use the official Trezor Suite and verify downloads via checksums when available.
- Never enter your recovery seed into a computer or phone.
- Use a passphrase for high-value accounts and store it separately from the seed.
- Label accounts clearly in Suite to avoid accidental transfers.
What to do if your device is lost or stolen
If your Trezor is lost or stolen and you have a secure recovery seed, acquire a new compatible device and restore using the seed to regain access to your funds. If your seed is lost or exposed, funds are at risk or irrecoverable, respectively — which is why secure, redundant backups matter. If you suspect the seed was compromised, move funds to a new wallet created from a brand-new seed immediately.
Advanced workflows
Advanced users may use air-gapped setups, multisignature arrangements, or dedicate a separate machine for sensitive operations. Air-gapped workflows keep signing devices physically isolated from the internet; transactions are transferred via QR or USB stick for signing and broadcasting. Multisig splits control across multiple devices for higher security in business or estate scenarios.
Final words
Trezor.io/start is the official first step toward secure self-custody. By following the start page’s instructions and the practical steps above — verify the device, install official firmware, protect your recovery seed, use PINs and passphrases, and verify transactions on-device — you build a secure foundation for holding crypto. Hardware wallets are powerful tools; proper setup and ongoing vigilance keep your assets safe for the long term.